
11 car repair hacks every woman should know
Data from Carmedic Autowerks shows that vehicle maintenance and repair costs jumped roughly 20 percent over a recent one-year period. This spike sent the average cost per vehicle climbing from $1023 to $1225. For many women drivers, these soaring garage bills cause immediate financial anxiety.
Imagine driving down a dark highway when a sudden dashboard light pops up. The stress of dealing with mechanics can feel overwhelming. Nobody wants to face unexpected bills or feel helpless on the side of the road.
Learning a few practical garage skills changes everything. True road confidence comes from knowing how your vehicle operates. You can easily master simple methods to protect your wallet and stay completely self-reliant.
Stop Windshield Cracks with Clear Nail Polish
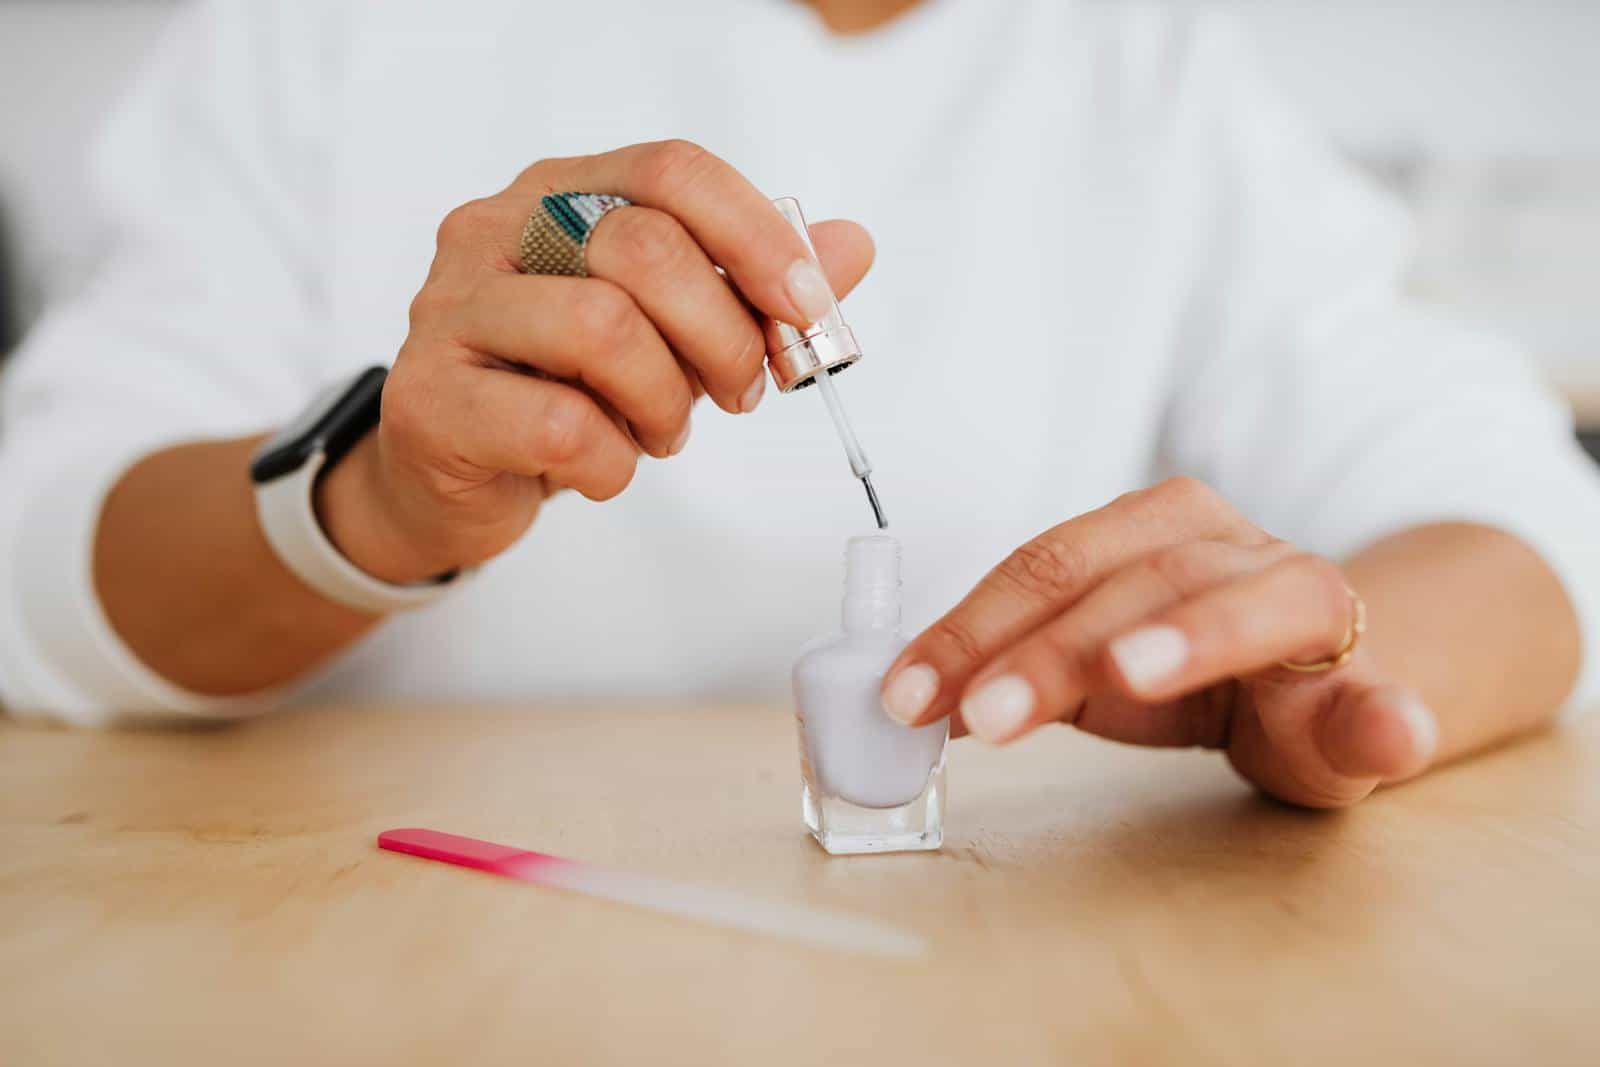
Frequent road debris increases your everyday risk of getting an annoying chip in your windshield. Drivers face this exact problem constantly during intense highway commutes in places like Phoenix. A small stone flies up, leaving a tiny mark on your glass surface.
For small chips, try using clear nail polish from your bathroom cabinet. First, clean the damaged area using standard dish soap and warm water. Let the windshield dry fully before moving to the next step.
Brush a thin coat of clear nail polish directly over the chip to temporarily seal it. The liquid fills the tiny nooks and crannies before hardening into a surface shield. This method reduces the chance that temperature changes or moisture will make the crack spread.
Pop Out Small Dents with Boiling Water and a Plunger
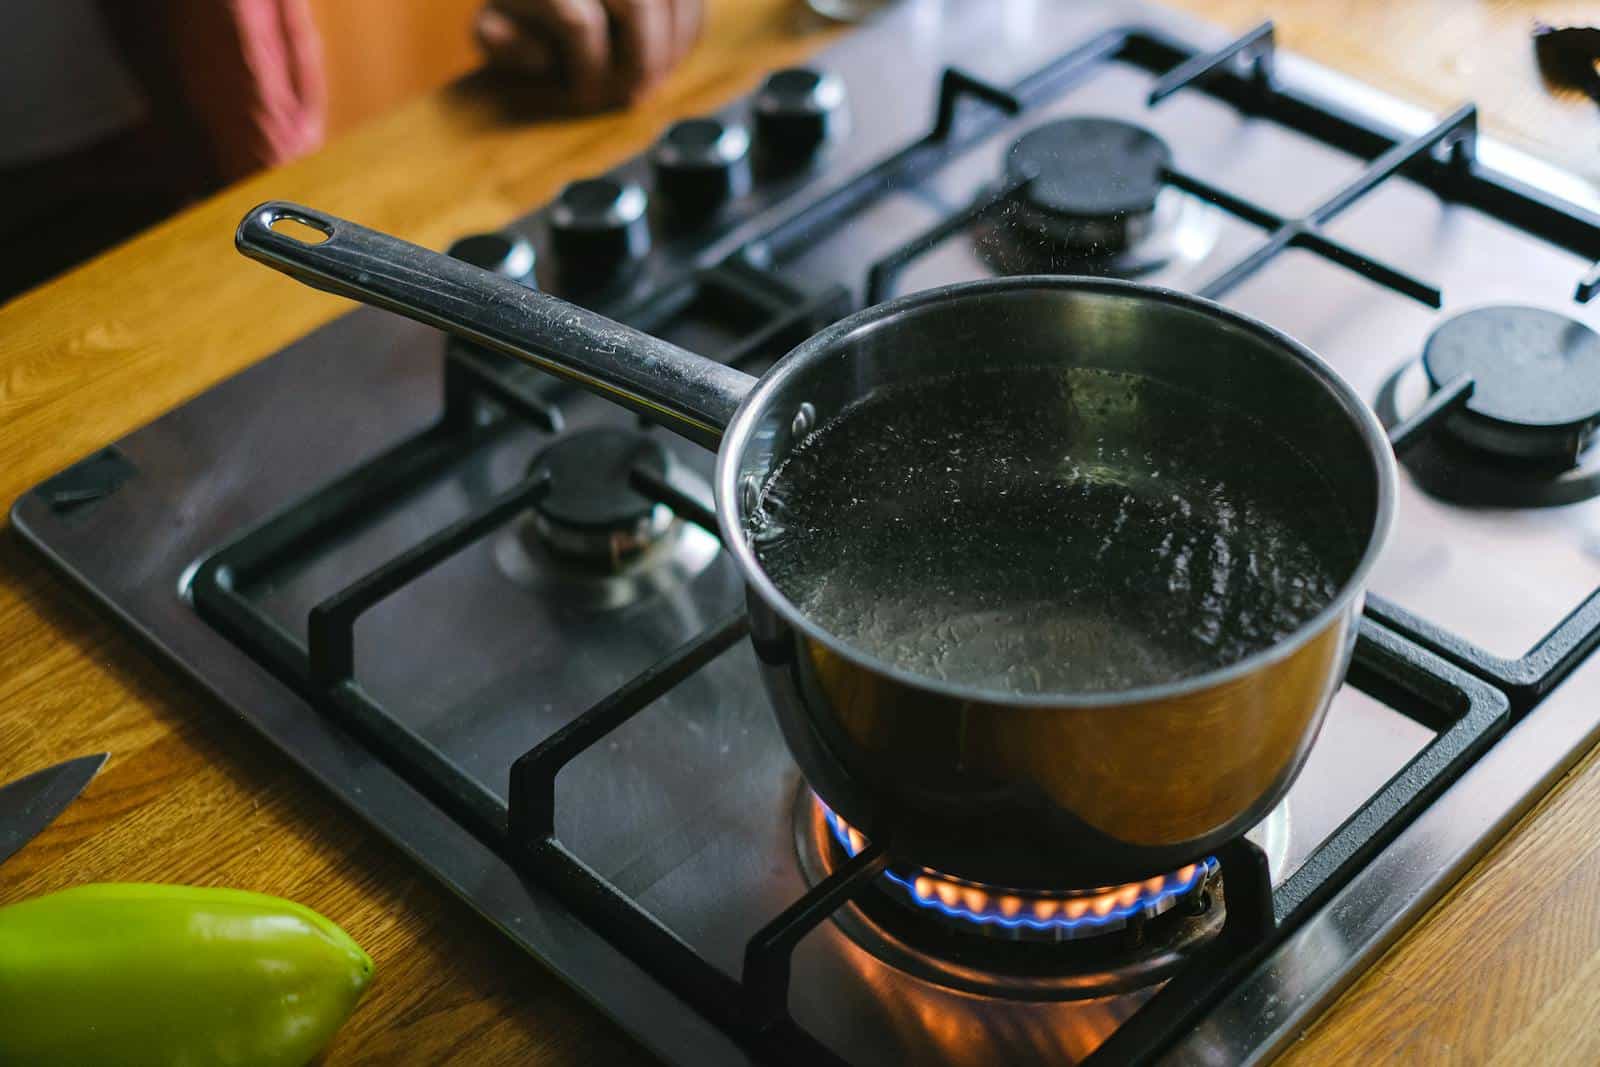
A viral TikTok video by Jenna Musselman generated over 19.1 million views by showing a quick way to pop out vehicle dents. The concept seems beautifully simple. You use intense heat and physical suction to force the flexible plastic body panel back into its original shape.
In the viral clip, Musselman poured a pot of boiling water over her dented bumper. She then grabbed a cheap toilet plunger to pull the metal back. The attempt failed completely because the tiny bargain tool could not gain proper traction or suction.
Viewers immediately pointed out the main issue in the comment section. Tool quality matters when you attempt any home vehicle repair. A cheap dollar store plunger simply lacks the structural strength to pull against heavy plastic panels.
Clear Foggy Headlights with Baking Soda

Foggy headlight lenses look bad and compromise your safety by reducing night visibility. Faded plastic limits the reach of your high beams and increases your overall risk of accidents. You do not need to purchase an expensive new headlight assembly to fix this common issue.
You can restore plastic clarity in under ten minutes using simple pantry items. Start by washing the headlights thoroughly to remove surface dirt. Place masking tape around the edges of the lens to protect your vehicle’s paint from scratches.
Mix 2 tablespoons of baking soda with 1 tablespoon of white vinegar in a small container. This mixture forms a thick paste that cuts through heavy oxidation. Scrub the lens thoroughly with a soft microfiber cloth using circular motions.
Banish Squeaky Pedals with Petroleum Jelly
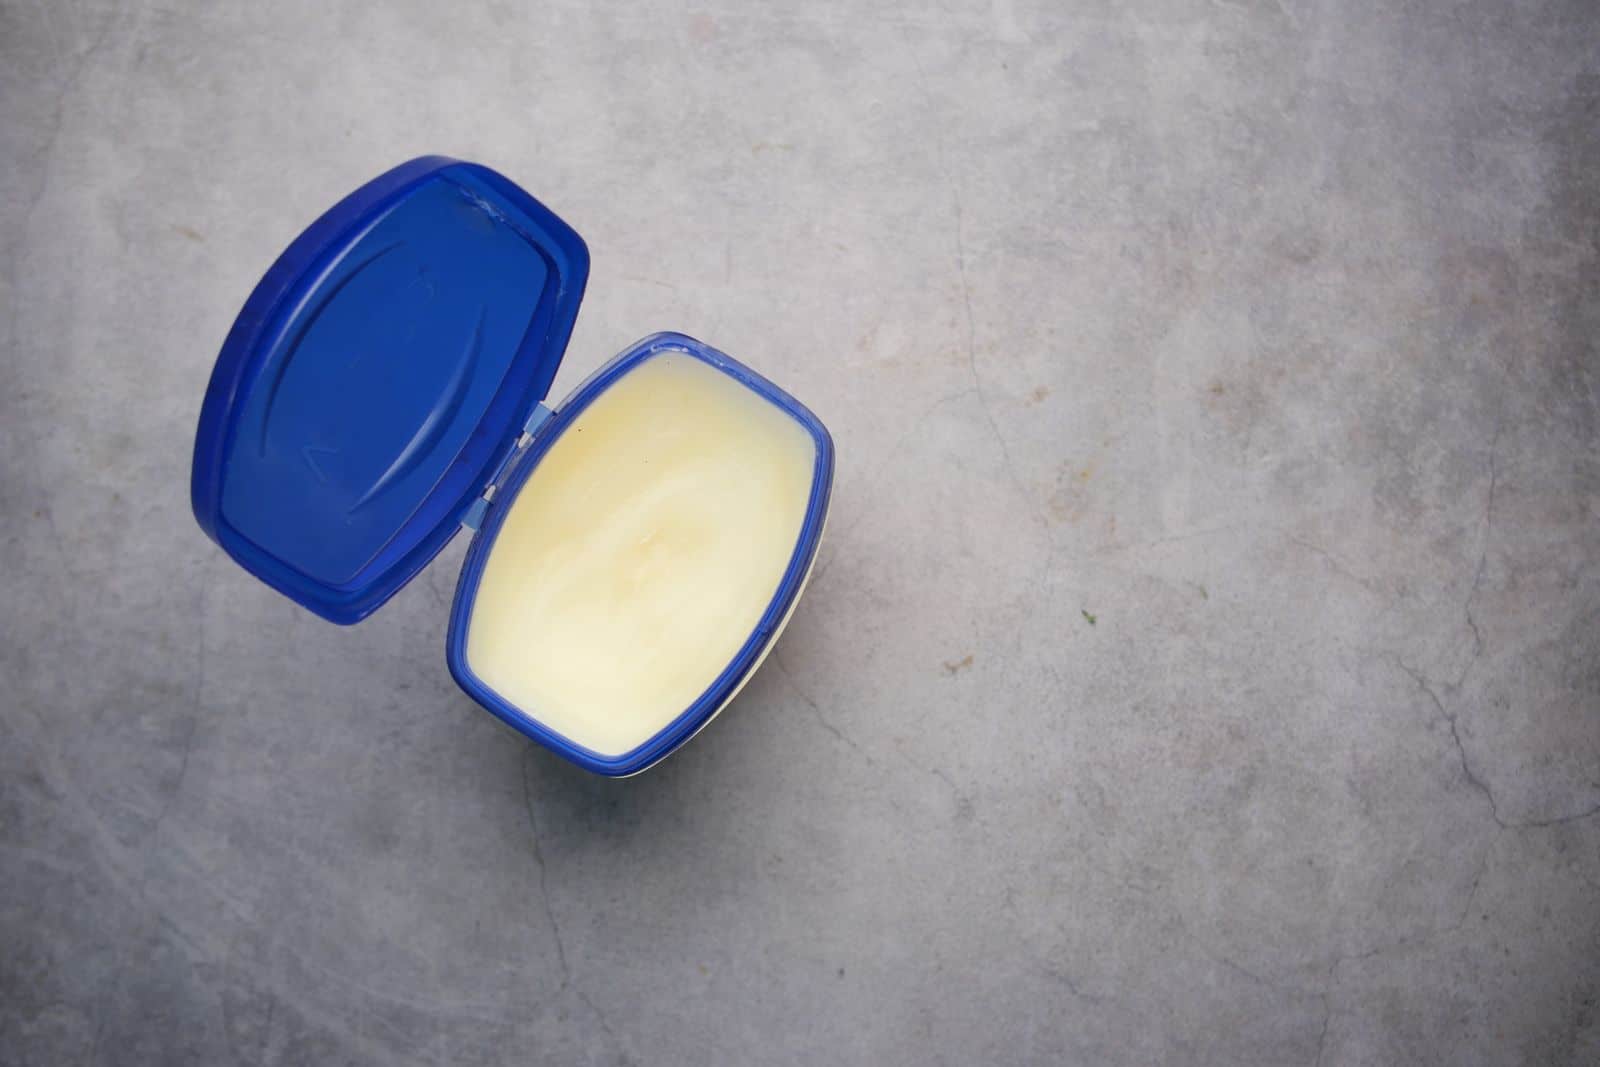
You can solve friction problems using an inexpensive jar of standard petroleum jelly. Locate the exposed master cylinder bore near the top of the pedal assembly. Push the pedal down fully to expose the moving metal parts inside the footwell.
Apply a small amount of petroleum jelly directly onto the exposed cylinder rod. Work the pedal up and down several times to spread the lubricant evenly. This simple step eliminates annoying stickiness and instantly silences the noise.
The issue tends to recur every year or so during warm weather as the lubrication dries out. The petroleum jelly fix is entirely repeatable and costs next to nothing. It empowers you to silence cabin noises yourself without paying a mechanic a diagnostic fee.
Carry a Portable Jump Starter
Modern lithium battery packs are small, lightweight, and hold their power for 6 to 12 months. They turn a scary three-hour ordeal into a fast two-minute fix. You can jump-start your vehicle completely solo without needing a second car.
These devices feature built-in spark-proof designs and reverse polarity protection. These safety systems prevent short circuits even if you accidentally mix up the cables. Connect the positive red clamp directly to the positive battery terminal first.
Attach the negative black clamp to an unpainted metal section of the car frame to ground the circuit. Never connect the black clamp to the negative battery terminal. Turn on the portable power pack and check the readiness light.
Start your engine and let it run smoothly. Disconnect the clamps in the exact reverse order by removing the black clamp first. Drive the vehicle for 20 to 30 minutes so the vehicle alternator can fully recharge the battery. Check the power pack charge every 3 to 4 months to stay ready for emergencies.
Check Tire Pressure Monthly with a Digital Gauge
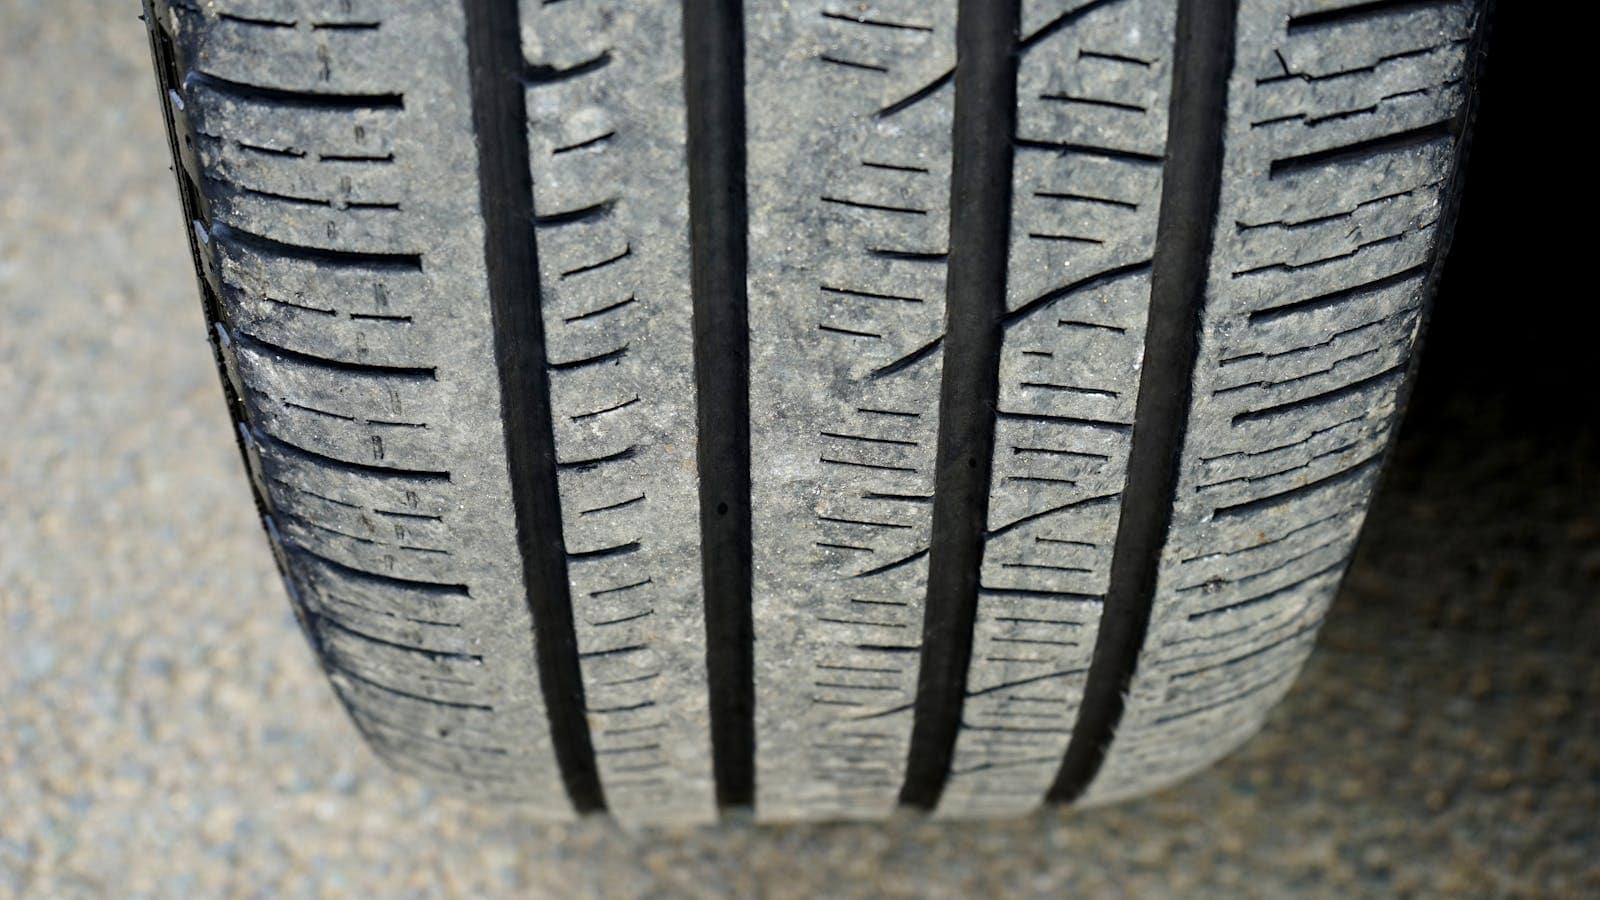
Properly inflated tires keep you safe on the road and save you serious money at the gas pump. Correct tire pressure improves your steering response, ensures smooth handling, and prevents premature treadwear. Checking your tires monthly reduces the risk of your air pressure dipping far below safe levels.
Always check your tire pressure when the rubber is completely cold. This means inspecting the car after it has been parked for at least 3 hours. Driving less than 1 mile to a local air pump is also acceptable.
Locate the recommended tire inflation pressure on the white sticker inside the driver’s doorjamb. Avoid using the maximum pressure printed on the tire sidewall. Remove the small valve cap and press your personal digital gauge firmly onto the stem.
Use Petroleum Jelly to Restore a Dull Dashboard

The common household jelly can form a microscopic protective film over dry plastic and synthetic resins. The oil smooths out the rough surface texture and temporarily masks small cosmetic blemishes. It also reduces surface static electricity, helping prevent dust from sticking to your dash.
Rub a pea-sized amount of petroleum jelly onto a soft microfiber cloth. Spread the product thinly across a 12- to 18-inch section of your dashboard. Buff the area immediately using a clean, dry section of the cloth to remove any excess residue.
Never overapply the product or let it pool in the seams. Keep the jelly away from your airbag seams, stereo buttons, and ventilation screens. Spreading it carefully ensures a quiet, clean look without any sticky buildup.
Keep a Tire Repair Kit + Portable Air Compressor
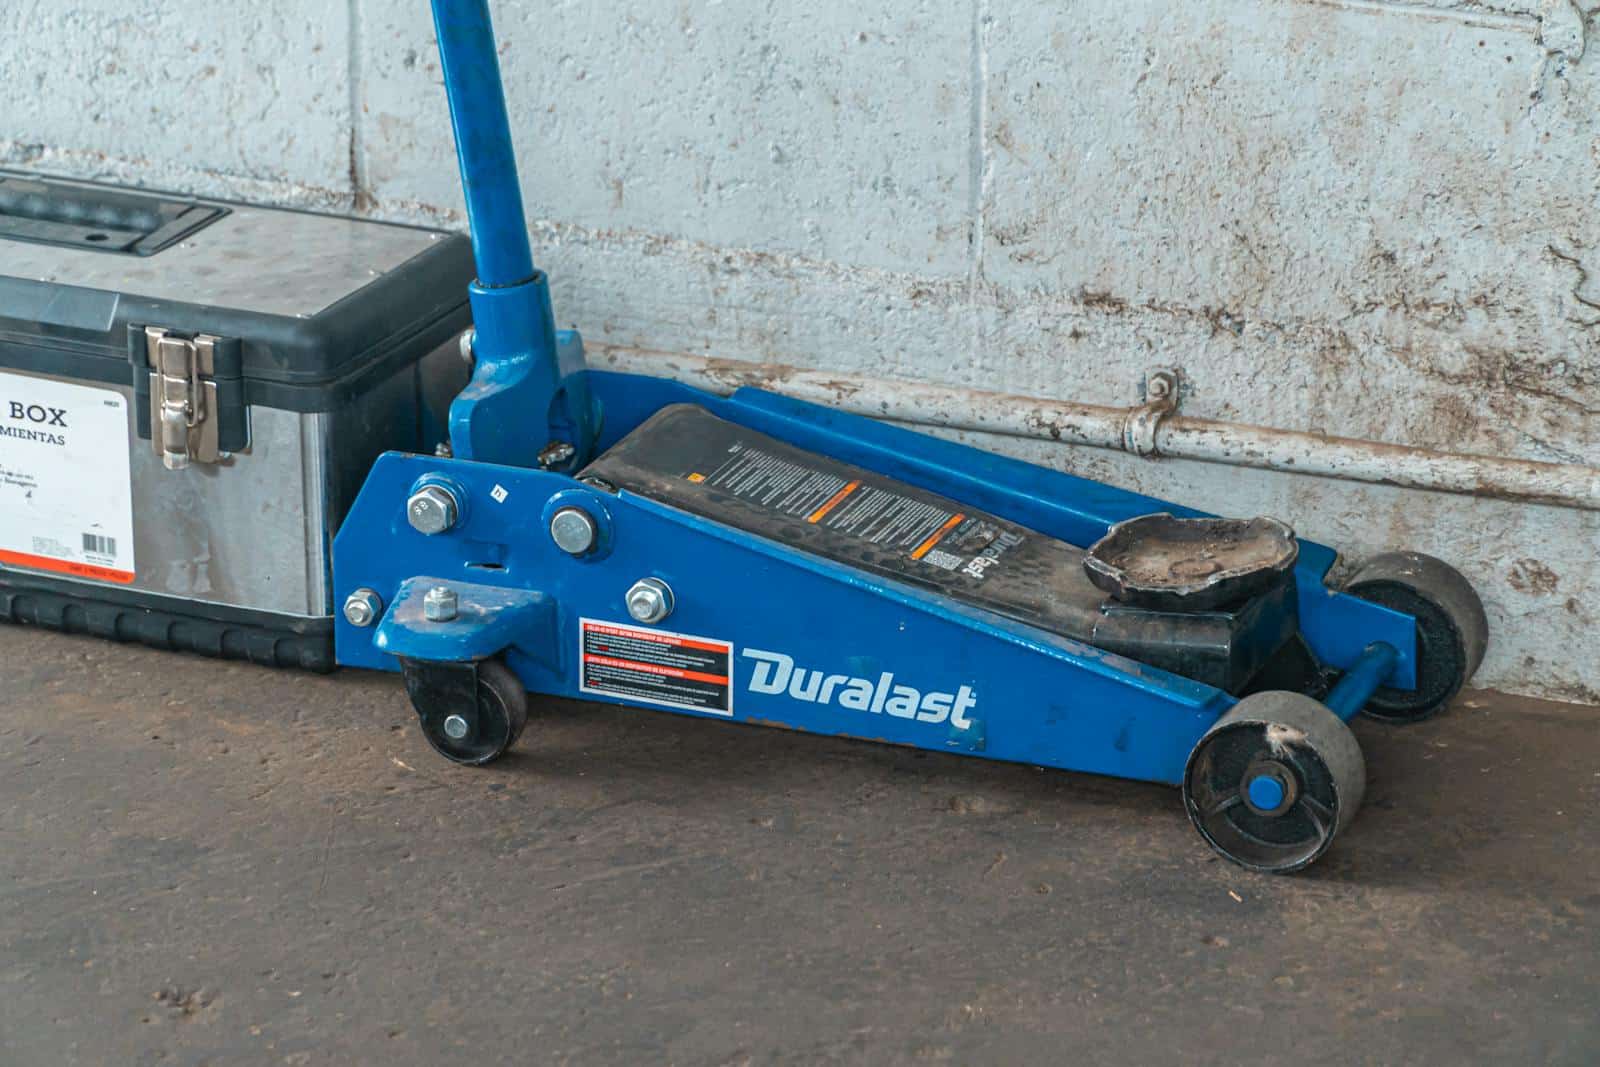
Fixing a flat tire on a busy shoulder puts you in direct danger from passing traffic. Waiting hours for a roadside assistance vehicle drains your time and your budget. Road tests by Car and Driver prove that modern portable tire inflators make emergency flats easy to handle.
The publication tested dozens of cordless inflators to find the best options for everyday drivers. The Slime Cordless Pro Power won best overall honors for its 15-foot flexible hose and fast 2-minute inflation time. It currently costs around $113 and inflates a tire from 10 to 30 PSI in just 2 minutes and 18 seconds.
Schedule Regular Preventive Maintenance

Preventive maintenance is proactive vehicle care that stops small issues from turning into catastrophic failures. The average vehicle age in North America will hit 13 years, making regular checkups essential. Spending a little money now on basic services saves you thousands later.
Consider the massive cost difference between simple scheduled care and emergency breakdowns. Replacing a worn rubber timing belt costs a few hundred dollars at a local garage. Neglecting that belt until it snaps can instantly destroy your engine and force a multi-thousand-dollar rebuild.
Insist on a Written Warranty for Parts and Labor

Many drivers feel relieved when a repair shop offers a lifetime warranty on a replacement part. The big catch is that these warranties often hide strict exclusions in the fine print. Many standard policies cover only the physical part itself while completely excluding the cost of garage labor.
The next part might surprise you. Labor charges routinely dwarf the actual cost of automotive parts. For example, a replacement water pump part might only cost $85 at the counter. However, the mechanic might charge $300 in labor to disassemble and reinstall the engine.
If your warranty excludes labor, you will still face a massive out-of-pocket bill for a defective part. You must explicitly ask for a written warranty that covers both parts and labor. Confirm whether the policy includes consequential damage coverage to protect you if a failed part ruins other engine pieces.
Practice Changing a Tire When NOT in an Emergency
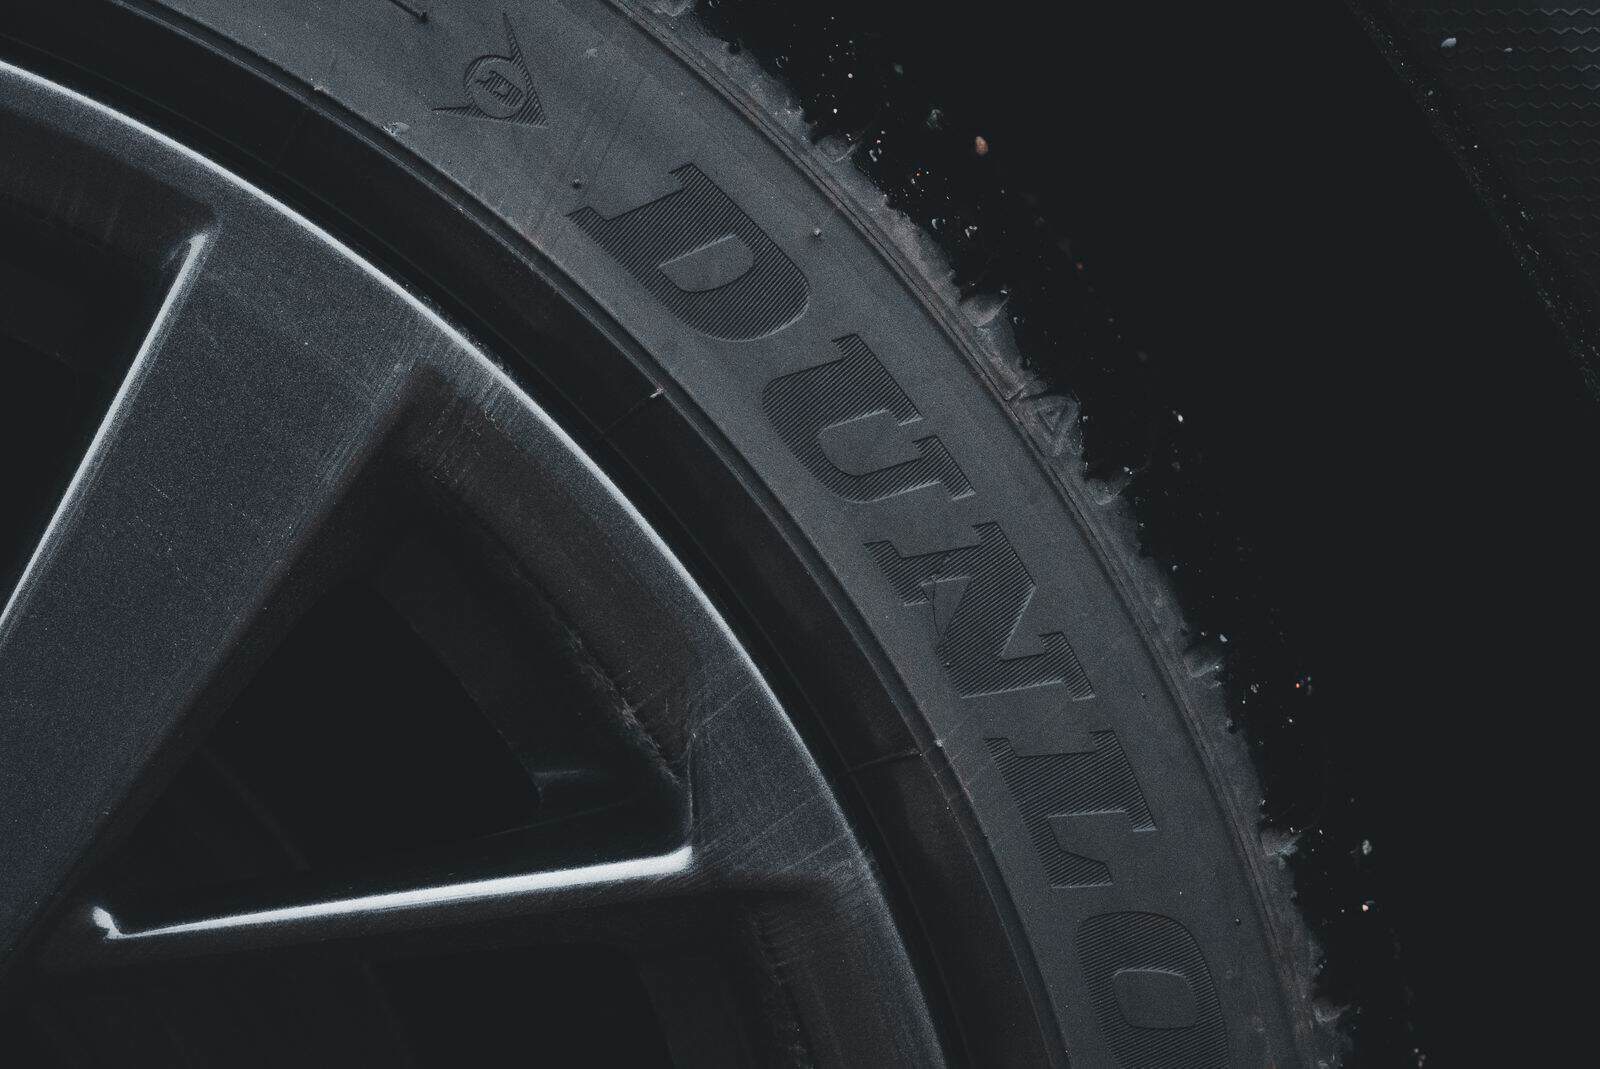
Conducting a calm practice run in your dry driveway builds the baseline muscle memory you need. Pull out your vehicle owner’s manual to locate your spare tire, jack, and lug wrench. Loosening tight lug nuts requires specific physical leverage. Always push down firmly on the wrench using your body weight rather than pulling up.
Find a flat, stable, concrete surface before lifting any vehicle. A jack can easily tilt and sink if you place it on soft soil, grass, or a hill. Never place a jack underneath any moving suspension parts or the main axle.
The next part is a brilliant safety hack that most drivers miss entirely. Once you remove the flat tire, slide it flat underneath the car frame near the jack. This creates a solid physical cushion that protects you if the jack slips unexpectedly.
Tighten your lug nuts using a distinct star pattern sequence rather than working in a circle. This cross pattern ensures even weight distribution across the wheel face. Check your manual for speed limits since most spare tires cannot safely exceed 50 miles per hour.
Key Takeaways

- Carrying a portable jump starter and a digital tire gauge eliminates the need to rely on strangers during a sudden roadside breakdown.
- Cheap dollar store tools often fail under pressure; spending $5 to $40 on proper tools ensures successful home maintenance.
- Always demand a written warranty covering both parts and labor to avoid paying hundreds of dollars in hidden installation fees.
- Regular oil changes and fluid checks prevent minor wear from cascading into catastrophic engine failures.
- Practicing tire changes in a controlled environment ensures you stay calm and safe when a real emergency strikes.
Disclaimer – This list is solely the author’s opinion based on research and publicly available information. It is not intended to be professional advice.
Like our content? Be sure to follow us.