
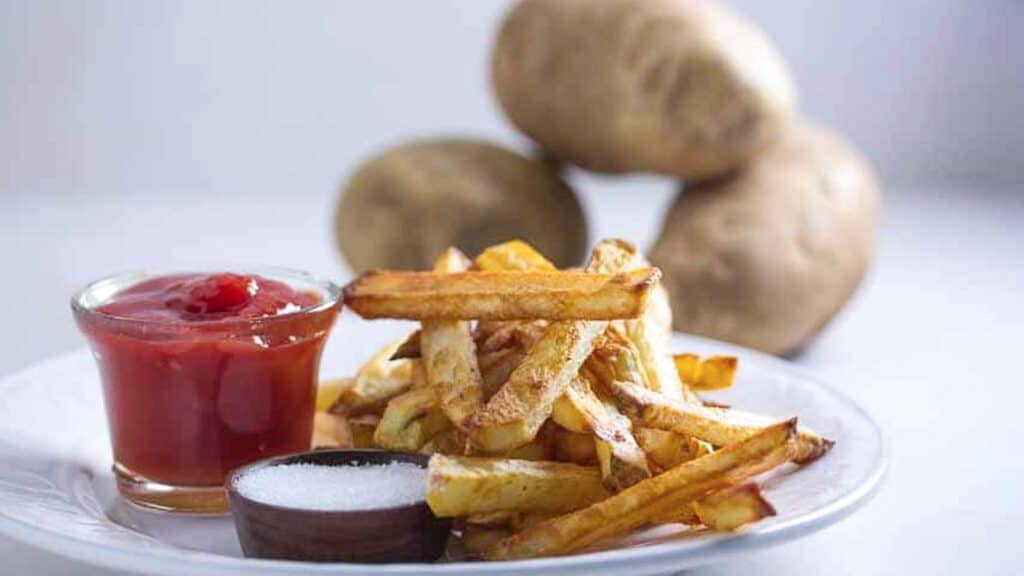
Perfecting Crispy Oven-Baked Fries
In our quest for the ultimate oven-baked fries, we’ve meticulously crafted a foolproof method to ensure your fries come out tantalizingly crispy on the outside, with a fluffy interior that’s pure potato perfection. Say goodbye to lackluster fries and hello to fries that rival those from your favorite restaurant. Let’s dive into the details of creating the best oven-baked fries you’ve ever tasted.
Selecting the Right Potato
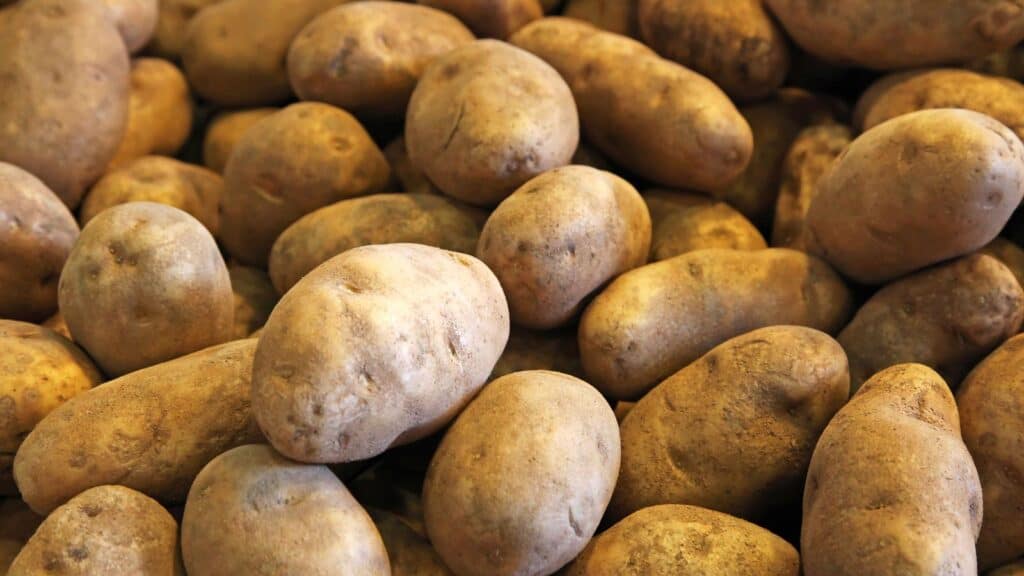
For fries that boast an ideal texture and flavor, opt for starchy russet potatoes. Their high starch content ensures a fluffy interior, while their robust structure holds up well to baking, resulting in fries that strike the perfect balance between tender and crispy.
Size and Shape Matters
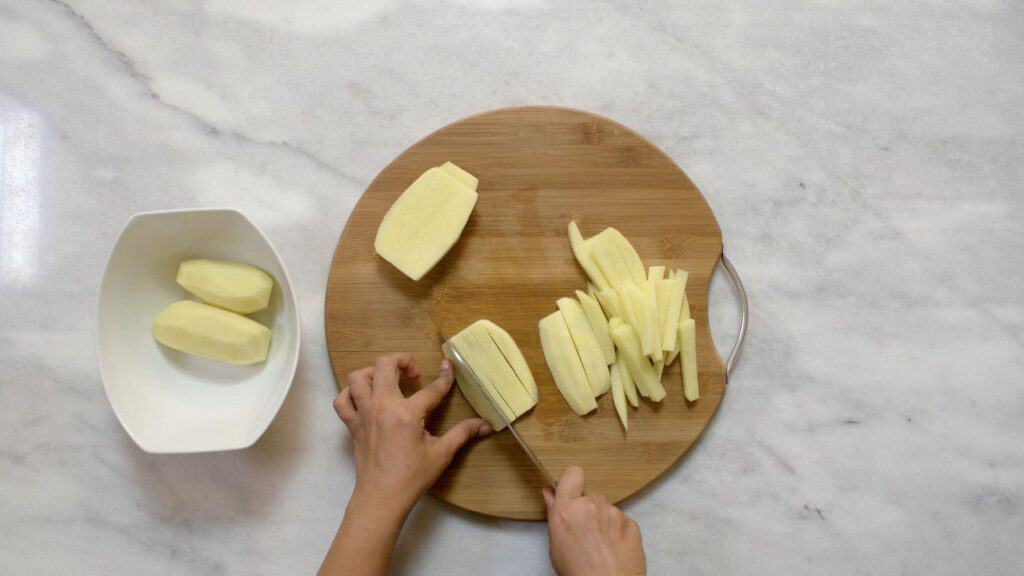
Achieving the quintessential fry shape is crucial. Cut your russet potatoes into 3/8-inch (1 cm) square sticks, approximately 4 ½ inches (11 cm) long. This size and shape combination offers the ideal ratio of creamy potato interior to crispy exterior, delivering a satisfying crunch with every bite.
To Soak or Not to Soak

While some recipes advocate for soaking sliced potatoes in water to release starch and enhance crispiness when frying, we’ve found that for oven-baked fries, this step isn’t necessary. Skip the soaking process to save time without compromising on flavor or texture.
Essential Equipment
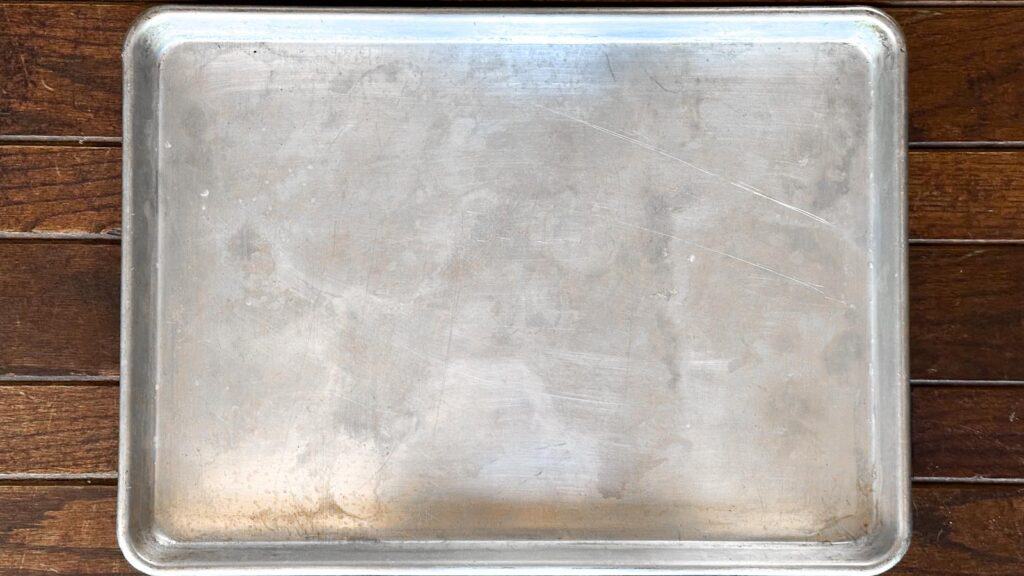
Ensure success by using sturdy rimmed baking sheet pans, preferably commercial-grade “half-sheet pans.” These pans conduct heat evenly, crucial for achieving consistent browning and crispiness across all your fries. Half-sheet pans are made of sturdy aluminum, conduct heat exceptionally well, remain warp-free, and can last a lifetime. I’ve had some that have served me across various commercial kitchens for decades, proving their durability.
Moreover, they’re incredibly versatile: perfect for roasting potatoes, vegetables, spatchcock chicken, large batches of chicken parts, winter squash, jelly-roll cakes, cookies, brownies, and more. In our Test Kitchen, these half-sheet pans are among the most versatile tools we use. They’re cost-effective and indispensable.
Prepping the Pan
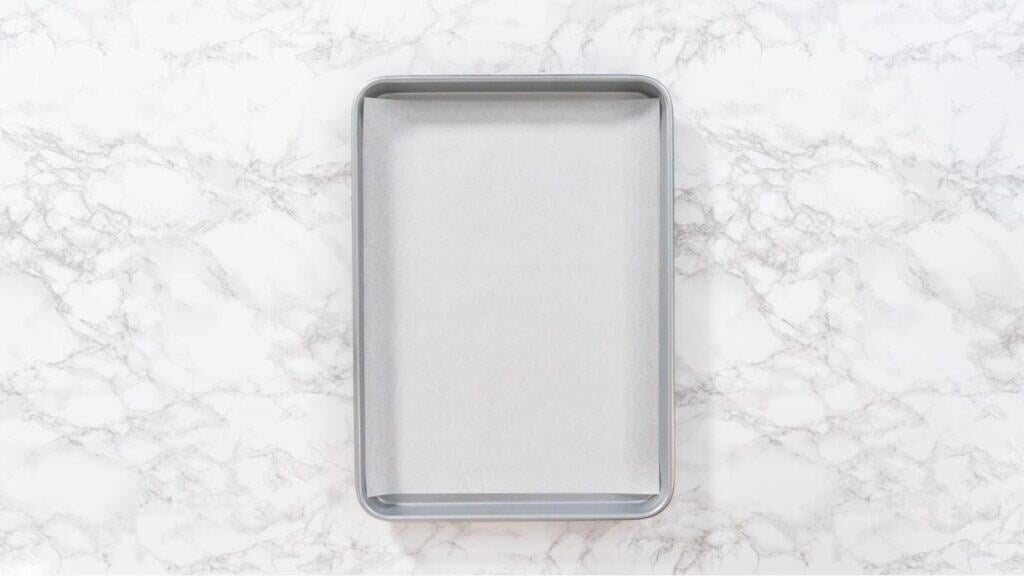
While you could place the fries directly on the pan, they tend to stick, despite being coated with oil. I used to line pans with aluminum foil, a common household item, but I’ve found better results with parchment paper. Not only do the fries stick less, but they also brown better. Don’t worry about the paper burning; it can handle the heat. There’s a reason why parchment paper is a staple in commercial kitchens—it’s simply fantastic.
Placement Matters

When arranging the fries on your pans, ensure they don’t touch each other. This is crucial for achieving proper crispiness. Touching fries result in soggy fries, which is definitely not what you want!
Crank Up the Heat
The oven temperature of 450°F (230°C) is crucial for this recipe. Ensure your oven reaches this temperature accurately by using an oven thermometer.
Flipping Fries & Rotating Pans
During roasting, flip the fries over once halfway through and rotate the pans for optimal results. It might be a bit tedious to flip them all, but it’s necessary for achieving crispiness. You can use tongs or a sturdy metal spatula for flipping. When flipping, do it quickly to minimize heat loss. If possible, bring the pans out of the oven to flip them, or quickly flip them with the oven door open. Also, switch the pans from front to back and from upper rack to lower rack, and vice versa, for even exposure to the high heat.
Elevate Your Dipping Experience
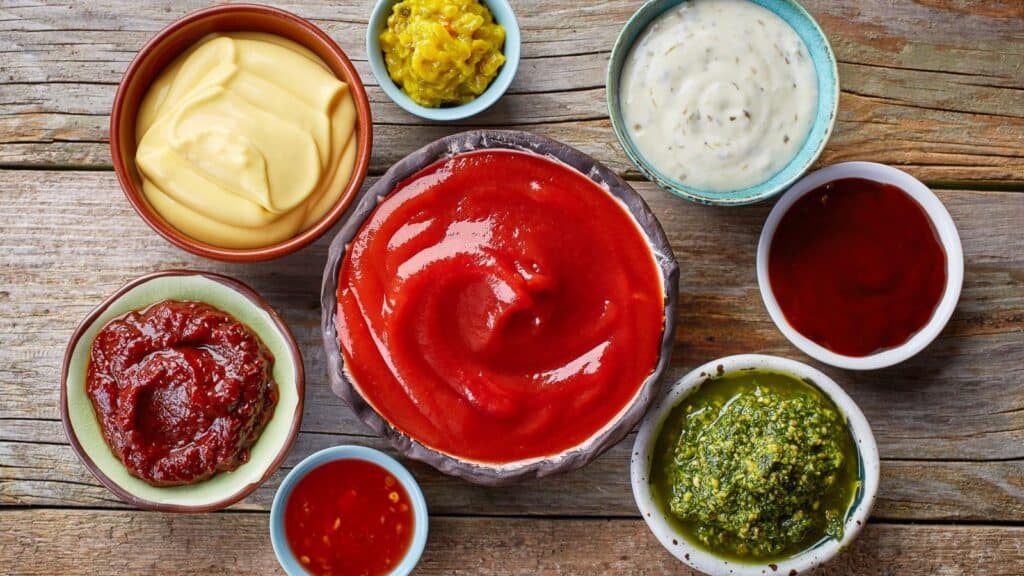
While ketchup is a classic accompaniment, consider expanding your dipping options. Experiment with salsa, mayonnaise, flavored aioli, or even malt vinegar for a different, yet classic option.
Serving Perfection
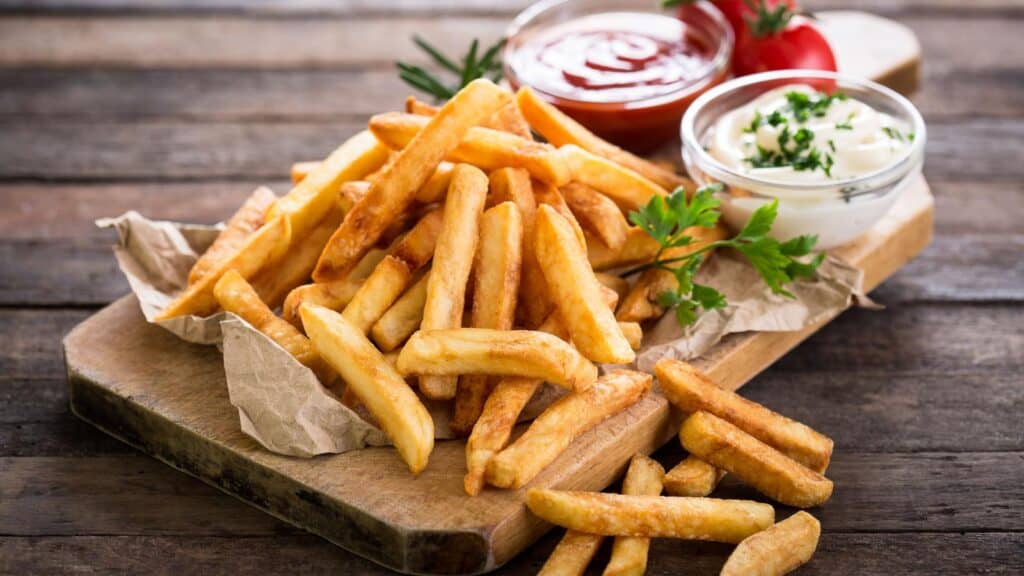
Timing is key when serving oven-baked fries. Enjoy them immediately upon removal from the oven to savor their optimal texture and flavor. Follow our recipe below for the ultimate oven-baked fries that will leave you craving more with every bite.
Let’s Eat Fries!

Now you’re equipped to master the art of oven-baked fries, surpassing the quality of restaurant offerings. From selecting the perfect potatoes to mastering the baking process, every step is meticulously designed to ensure fries that are irresistibly crispy, fluffy, and utterly satisfying. Say goodbye to mediocre fries and hello to homemade perfection. Enjoy the culinary journey to fry perfection!
Our Mini Oven-Baked Fry Recipe
Preheat oven to 450°F (230°C). Peel 1-pound (455 g) russet potatoes, then cut into French fry “shape” as described above. Toss in a bowl with olive oil to coat; season with kosher salt. Scatter across two parchment lined half-sheet pans. Bake for 12 to 15 minutes, until bottoms are golden; flip fries over and continue to bake for about 12 to 15 minutes more or until fries are golden brown all over and crispy. Serve immediately with extra salt, ketchup or condiment of choice.
Tools for Perfect Oven-Baked Fries
We have chosen our picks for the best tools to ensure you get the crispiest fries!
This post may contain affiliate links. Please see our disclosure policy for details.
Nordic Ware – 43172AMZM Nordic Ware Half Sheet with Oven Safe Nonstick Grid, 2 Piece Set, Natural OXO Good Grips 9-Inch Locking Tongs with Nylon Heads SMARTAKE 200 Pcs Parchment Paper Baking Sheets, 12×16 Inches, Non-StickYou May Be Interested In Reading:


Author

Last update on 2026-07-29 / Affiliate links / Images from Amazon Product Advertising API